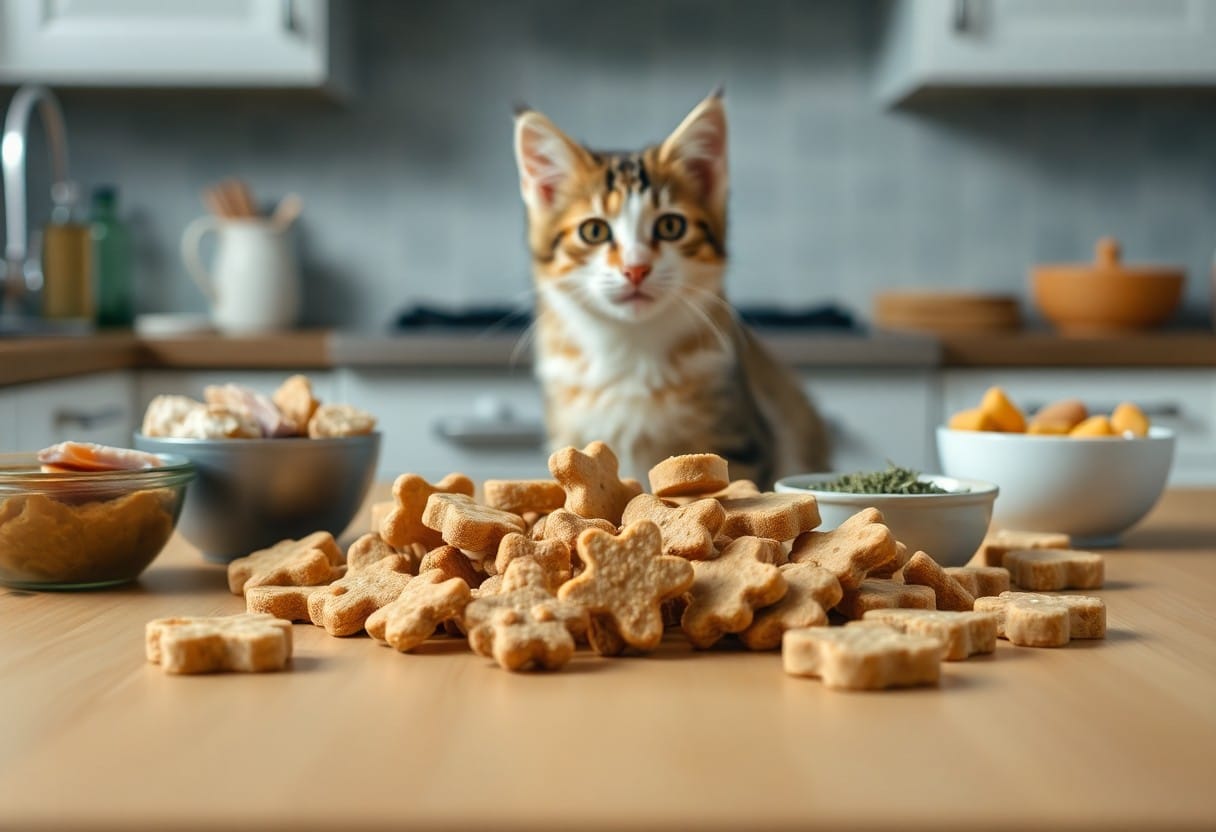
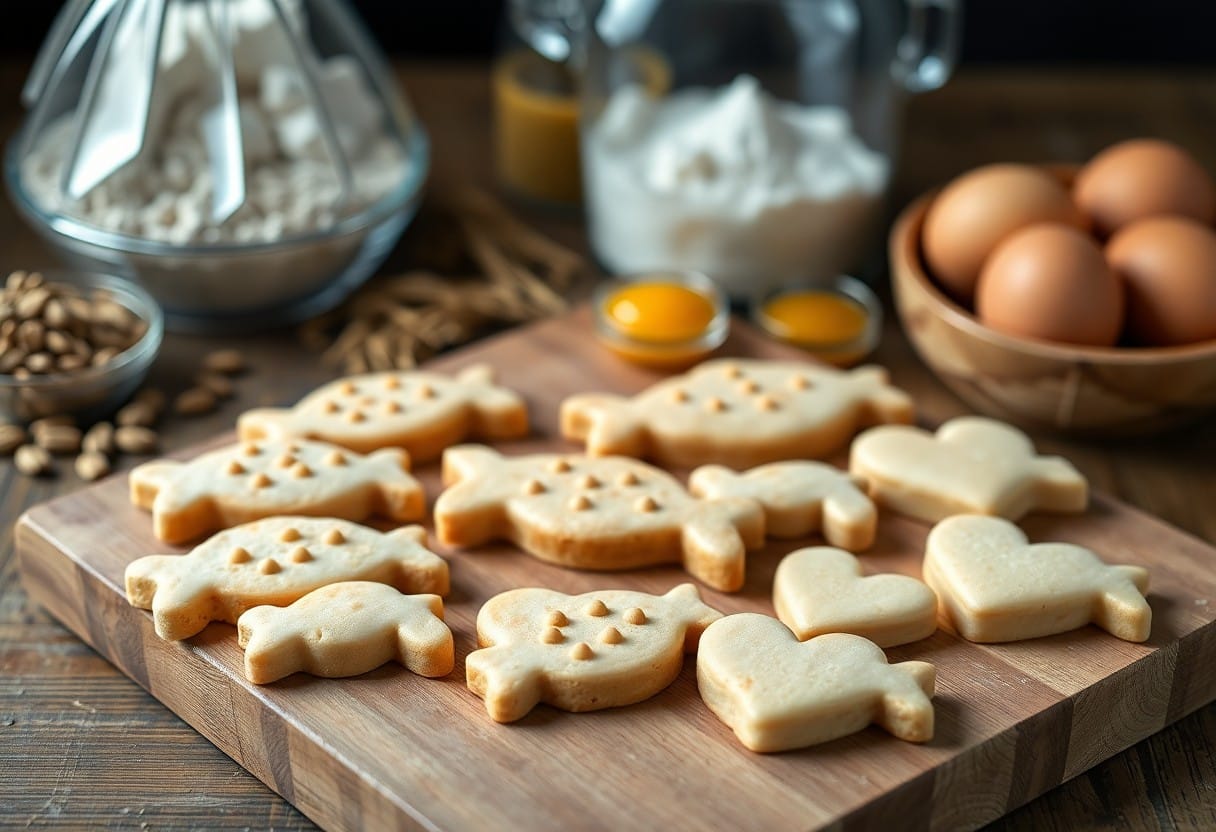
Over the years, you may have noticed how much your feline friend loves treats. By following this step-by-step guide, you will learn how to create flavorful homemade cat treats that are not only delicious but also healthy for your kitty. Baking at home allows you to control the ingredients, ensuring that your cat enjoys a safe and nutritious snack. Get ready to delight your pet with simple, tasty recipes that will keep their tails wagging!
Key Takeaways:
- Choose high-quality, natural ingredients that are safe for cats, such as meat, fish, and specific herbs or veggies.
- Follow a simple recipe to ensure the treats are easy to prepare and bake, allowing for experimentation with different flavors.
- Store the treats properly in an airtight container to maintain freshness and flavor for your feline friend.
Types of Cat Treats
Before you begin baking, it’s important to understand the various types of cat treats available for your furry friend. Each type serves different purposes and can enhance your cat’s eating experience:
| Soft Treats | Easy for cats to chew, often more palatable. |
| Hard Treats | Help with dental health, promote chewing. |
| Freeze-Dried Treats | High in nutritional value, resemble raw diets. |
| Homemade Treats | Control ingredients, tailor flavors to your cat’s taste. |
| Training Treats | Small and low-calorie for rewarding good behavior. |
The right type of treat can significantly improve your cat’s enjoyment and health.
Soft vs. Hard Treats
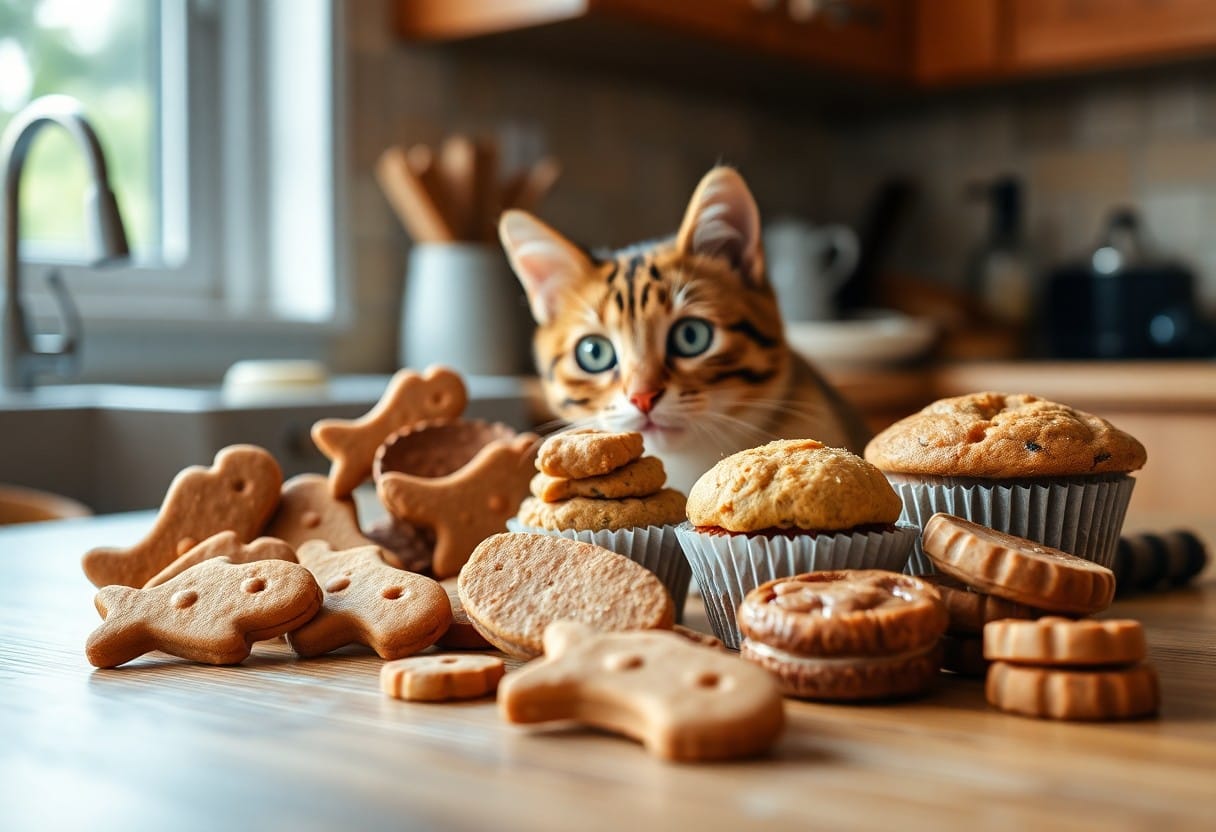
You may wonder whether to choose soft or hard treats for your cat. Soft treats are ideal for older or dental-sensitive cats, providing easy chewability. In contrast, hard treats can promote dental hygiene by encouraging chewing, thus helping to remove plaque buildup. Both types can be flavored to satisfy your cat’s palate, but it’s important to strike a balance based on your cat’s unique needs and preferences.
Grain-Free Options
The demand for grain-free options is rising among cat owners. Many cats are sensitive or allergic to grains, making grain-free treats a viable alternative. These treats primarily consist of high-quality protein sources, ensuring your pet receives necessary nutrients without unwanted fillers.
Options such as chicken, fish, and turkey are popular for grain-free cat treats. These ingredients not only cater to your cat’s innate dietary preferences, but they are also rich in protein, necessary for muscle maintenance and overall health. Furthermore, plant-based proteins like peas or lentils can provide an additional source of nutrients. However, be cautious, as some grain-free diets have been linked to potential heart issues, so it’s wise to consult with your veterinarian before changing your cat’s diet significantly.
Essential Tips for Baking
While baking homemade cat treats, attention to detail is vital for success. Keep these tips in mind for a rewarding experience:
- Always use fresh ingredients for enhanced flavor.
- Consider your cat’s dietary needs and restrictions.
- Invest in good-quality baking equipment for consistency.
- Be patient and allow treats to cool completely before serving.
Perceiving these tips will make your baking venture much smoother and enjoyable!
Ingredient Selection
Tips for selecting the right ingredients include opting for high-quality proteins such as chicken or fish, and incorporating natural binders like pureed pumpkin. Always check for any additives or preservatives that could be harmful to your cat. Diverse flavors and textures, along with your cat’s preferences, can lead to truly appetizing treats.
Storage and Freshness
You should store your homemade cat treats in an airtight container to maintain freshness. Keep them in a cool, dry place away from direct sunlight to prolong shelf life.
Plus, it’s important to evaluate how long your treats can be stored without compromising freshness. Typically, homemade cat treats last up to two weeks when stored properly. For longer preservation, consider freezing them in an airtight container or freezer bag. Avoid using jars exposed to moisture, as this can lead to mold and spoilage that can be dangerous for your cat. Keeping these factors in mind ensures that every treat you offer is delightful and safe!
Step-by-Step Baking Process
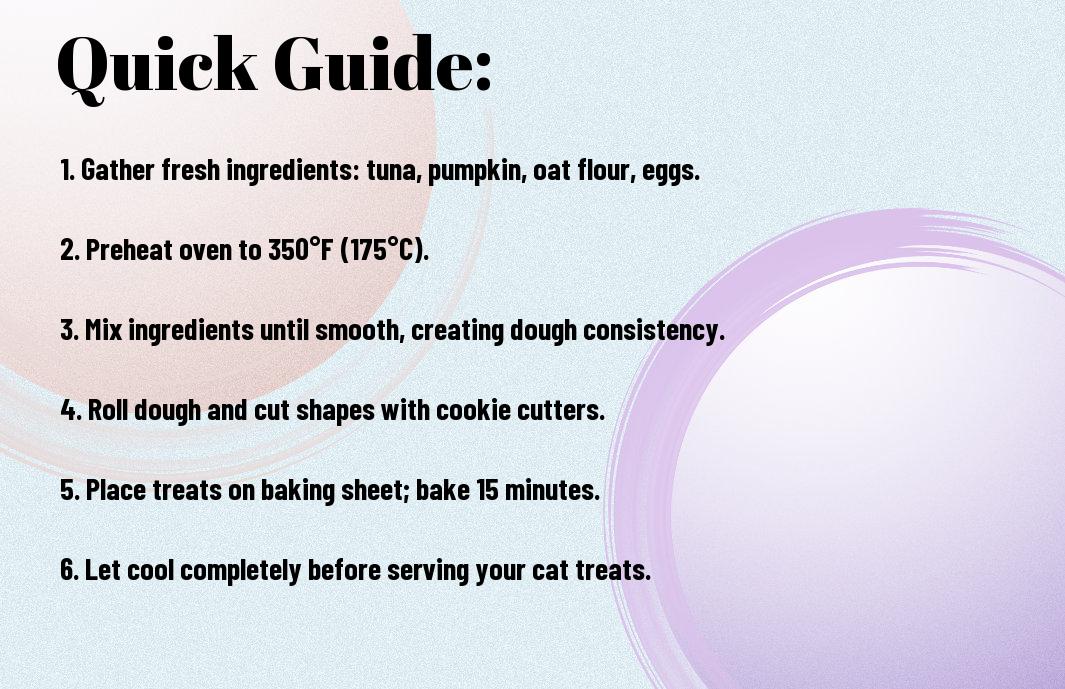
Unlike store-bought options, homemade cat treats allow you to control the quality and flavor, ensuring your feline friend enjoys every bite. Follow these key steps to achieve scrumptious results:
| Steps | Description |
|---|---|
| Gather Ingredients | Choose healthy, cat-friendly ingredients for flavor. |
| Mix Ingredients | Combine dry and wet ingredients, ensuring even consistency. |
| Form Treats | Shape the dough into small, bite-sized pieces. |
| Bake | Follow the recommended temperature and time for best results. |
| Cool | Allow treats to cool before serving to your cat. |
Preparing the Dough
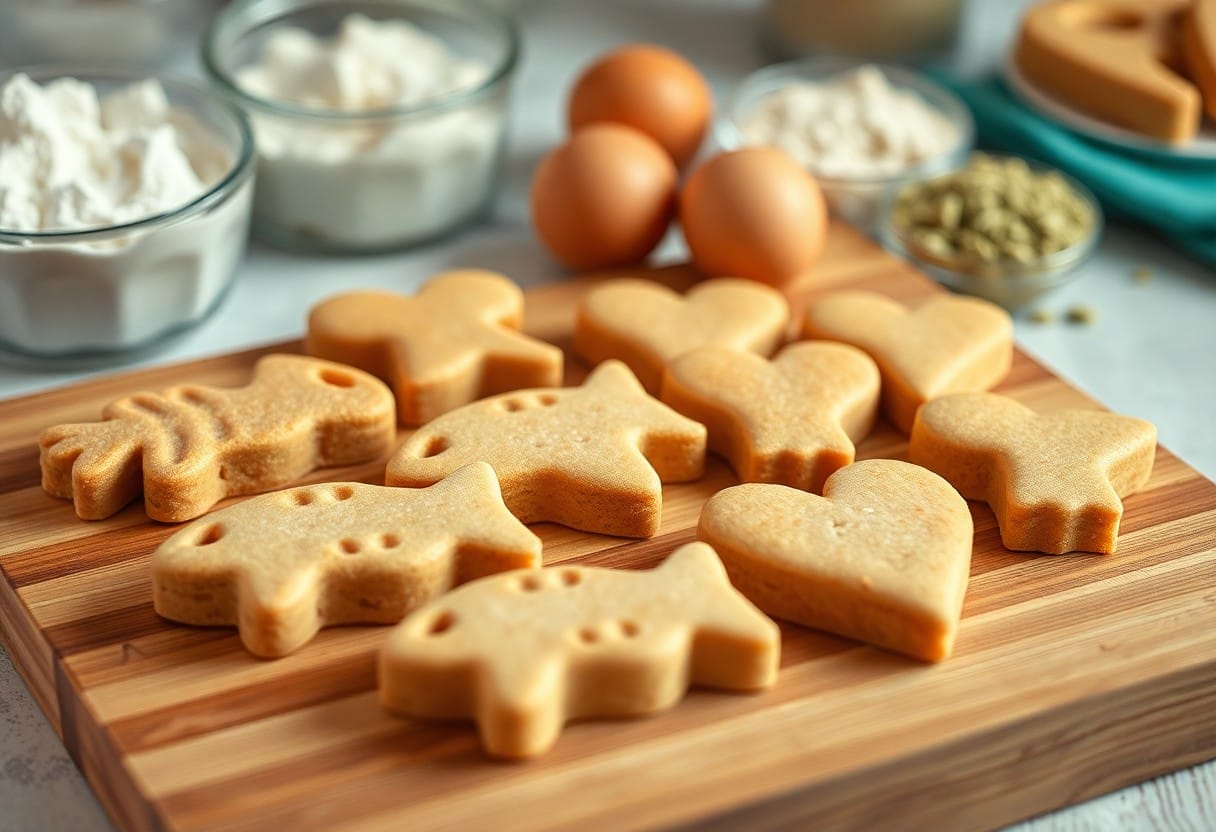
The key to delicious cat treats lies in the dough preparation. Begin by mixing your chosen dry ingredients, such as whole wheat flour, with any suitable wet components, like pureed pumpkin or chicken broth. Combine them thoroughly until you achieve a smooth and manageable dough that can be easily shaped into treats.
Baking and Cooling
Clearly, proper baking and cooling are crucial for tasty treats. Preheat your oven to the appropriate temperature and place the shaped dough on a baking tray lined with parchment paper. Bake until golden brown, then let the treats cool completely before offering them to your pet.
Baking is an important phase where your treats develop flavor and texture. Keep an eye on the timer to avoid burning or undercooking. Once they’re done, it’s vital to let them cool completely; hot treats could hurt your cat’s mouth. After cooling, store your homemade goodies in an airtight container to maintain their freshness and quality for your kitty’s enjoyment!

Factors Influencing Flavor
To create tasty homemade cat treats, it’s important to consider various factors that influence their flavor. These include:
- Ingredient quality
- Cooking technique
- Texture
- Temperature during baking
- Presence of aroma
Assume that paying attention to these elements will enhance the treat’s overall appeal to your feline friend.
Key Ingredients
You can significantly enhance the flavor of your cat treats by selecting the right ingredients. Focus on using fresh, high-quality elements such as meats, fish, and natural flavorings, which cater to your cat’s taste. Incorporating healthy ingredients promotes not just flavor but also the well-being of your pet.
Flavor Combinations
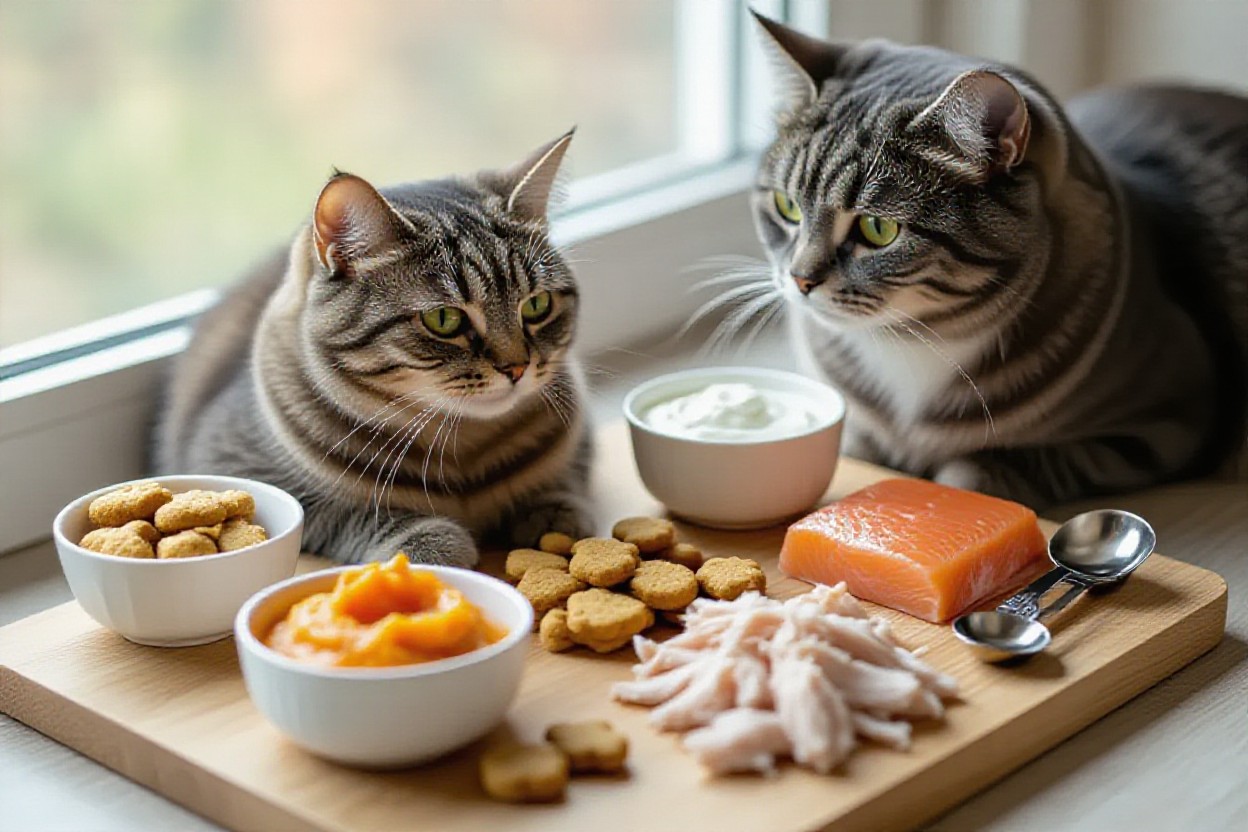
Flavor combinations can take your cat treats to the next level. You can experiment with mixing different proteins and healthy additives to create flavorful and nutritious snacks that will delight your kitty. For example, blending chicken with pumpkin or salmon with sweet potato can provide both unique flavors and important nutrients.
Combinations are key to making your homemade cat treats stand out. Feline taste buds often appreciate a blend of flavors that mimic their natural diet. Aim for exciting combinations like chicken and cheese for a savory treat, or fish and nutrient-rich greens for added health benefits. Avoid ingredients that may be toxic to cats, such as onions and garlic, ensuring all components are safe. Crafting unique flavor profiles will keep your cat engaged and excited at treat time!
Pros and Cons of Homemade Treats
All homemade cat treats come with various advantages and disadvantages that you should consider before diving in. Understanding these can help you make the best choices for your furry friend.
| Pros | Cons |
|---|---|
| Control over ingredients | Time-consuming to make |
| Customizable flavors | Potential for imbalanced nutrition |
| Freshness | Shorter shelf life |
| Allergy management | Messy preparation |
| Cost-effective | Need for proper storage |
Benefits for Your Cat
For your cat, homemade treats can provide a nutritional boost tailored to their specific needs. You can eliminate allergens and ensure the use of fresh, high-quality ingredients, enhancing their overall health and enjoyment.
Potential Downsides
Pros of making homemade treats include several factors, but there are also disadvantages you need to weigh carefully.
Plus, while convenience and flavor are appealing, you could face challenges like an imbalance in nutrition if recipes are not well-researched. Additionally, dedicating time for preparation may not fit into your busy schedule, and the potential messiness during the making process might be off-putting. Lastly, due to their shorter shelf life, you must ensure proper storage, or the treats may spoil quickly. Prioritizing both safety and enjoyment is key when considering homemade options.
Creative Variations and Add-ins
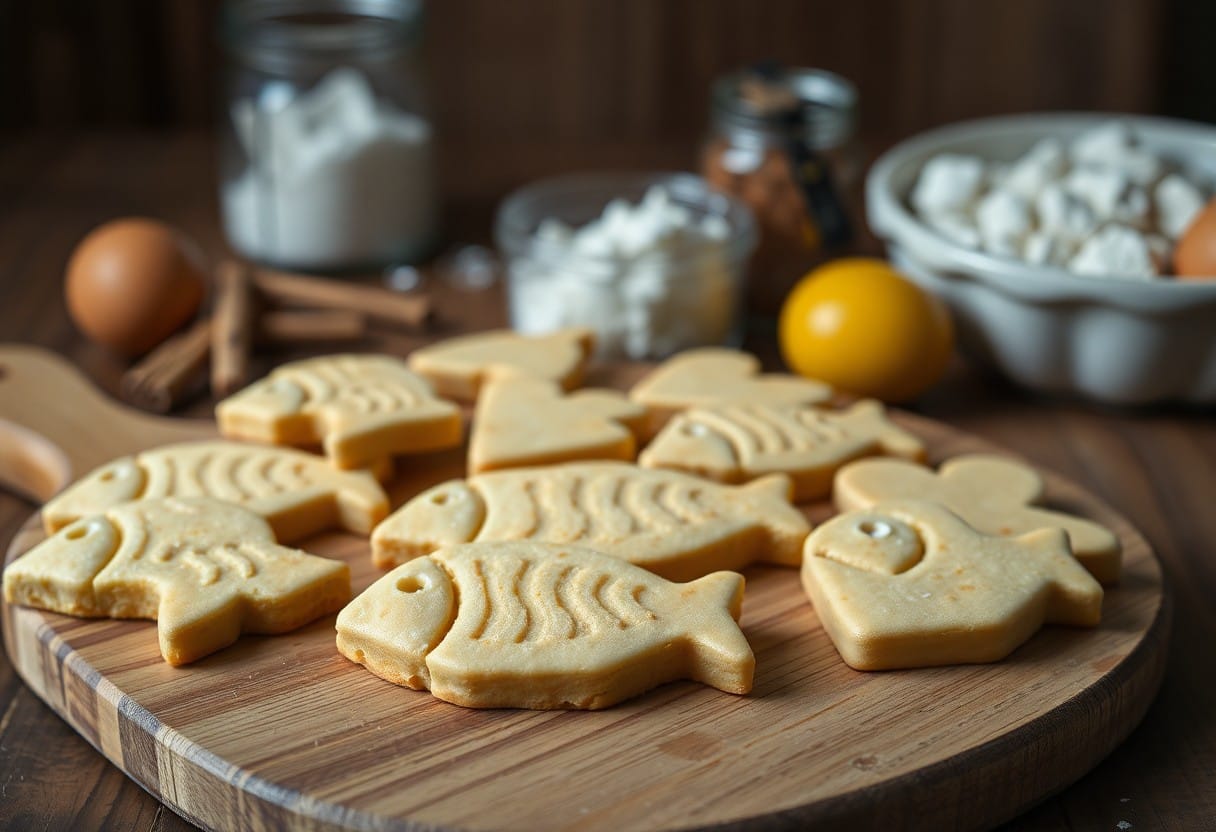
Once again, your creativity can shine when it comes to baking cat treats! Experiment with various ingredients to create unique flavors and textures that cater to your feline friend’s palate. From savory meats to delightful herbs, the possibilities are endless. You might want to consider mixing in some fish flakes or even a sprinkle of catnip to entice your kitty. Personal touches can make your homemade treats all the more enjoyable for your furry companion.
Unique Flavor Profiles
Even with basic recipes, you can craft a range of unique flavor profiles by incorporating ingredients like chicken, tuna, or pumpkin puree. These additions not only tantalize your cat’s taste buds but also bring a variety of nutrients. Trust your instincts and have fun mixing different flavors to find out what your pet loves most!
Nutritional Boosters
To enhance the health benefits of your cat treats, consider adding nutritional boosters that support their overall well-being.
Profiles of these boosters often include things like flaxseed, which is rich in omega-3 fatty acids that promote a healthy coat, or sweet potatoes, which provide vitamins and fiber. Adding tiny amounts of green peas can offer protein and necessary nutrients, while spinach packs antioxidants. However, be cautious with ingredients; avoid anything toxic to cats, like onions or garlic. Balancing flavor and nutrition is key to ensuring your treats are both enjoyable and beneficial for your furry friend!
Summing up
With this in mind, baking flavorful homemade cat treats can be a rewarding experience for both you and your feline friend. By following the step-by-step guide, you can ensure that your cat enjoys tasty, nutritious snacks made from wholesome ingredients. Tailoring the recipes to your cat’s preferences will not only strengthen your bond but also keep them healthy. So, gather your ingredients, unleash your creativity in the kitchen, and watch your cat delight in their new treats!
FAQ
Q: What ingredients are best for making flavorful homemade cat treats?
A: When making delicious homemade cat treats, it’s vital to choose ingredients that are safe and healthy for your feline friend. Some great options include whole wheat flour or oat flour as a base, which provide beneficial fiber. You can also incorporate protein-rich ingredients like chicken or tuna, as well as healthy fats such as coconut oil. Adding catnip or pumpkin can enhance flavor and provide additional nutrients. Always check that the ingredients are cat-safe and avoid toxic items like onions or garlic.
Q: How can I ensure the treats have the right texture for my cat?
A: To achieve the right texture for cat treats, focus on the baking time and temperature. Treats should be baked until they are firm and slightly crunchy, which can help maintain their shape and make them easier for your cat to chew. If your cat prefers softer treats, you can adjust the baking time or include ingredients like mashed bananas or pumpkin puree, which can add moisture. Also, consider cutting the treats into different shapes or sizes to cater to your cat’s preferences.
Q: How should I store homemade cat treats to keep them fresh?
A: Proper storage is important to maintain the freshness of your homemade cat treats. Once the treats have cooled completely, store them in an airtight container. For short-term storage, keeping them in a cool, dry place or in the refrigerator will help prevent spoilage. If you want them to last longer, consider freezing the treats. Just ensure they are well-wrapped or placed in a freezer-safe container to prevent freezer burn. When ready to serve, simply thaw them in the refrigerator or at room temperature.
