Over time, you can master safe, efficient cat grooming to cut costs and keep your pet healthy. With simple techniques and the right tools, you can achieve professional results at home and save money, while learning to avoid cutting the quick and to spot signs of infection or distress early. This guide gives step-by-step advice, recommended equipment, and safety checks so you can groom confidently and protect your cat’s well-being.
Benefits of DIY Cat Grooming
Cost Savings
By grooming at home you cut recurring salon fees: many groomers charge $50-$100 per session, so monthly professional grooming can run $600-$1,200 a year. Your initial kit-slicker brush, de-shedding tool, clippers, nail trimmers-typically costs $30-$150, then minimal upkeep. Handling routine brushing and nail trims yourself also prevents expensive emergency mat removals or sedated procedures that can cost $100-$300.
Bonding with Your Cat
Regular grooming becomes a calm, predictable interaction that builds trust: spend 5-10 minutes daily brushing to desensitize sensitive spots, use slow strokes, praise quietly, and give treats to create positive associations. Over weeks you’ll notice reduced struggling and stronger trust, especially in anxious or rescue cats.
Let your cat sniff tools first, start on back or cheeks, then progress to belly and legs only as they relax. Watch ears, pupils, and tail for tension; if you see flattening or hissing, pause and try shorter sessions. For stubborn mats, never pull hard-use a mat splitter or consult a professional to avoid skin tears and infection; follow up grooming with treats and play to reinforce the bond.
Essential Grooming Tools
Equip yourself with a core set of tools to handle brushing, dematting, nail care and occasional trimming: a slicker brush, metal comb, de-shedding tool for heavy coats, rounded-tip scissors, and both guillotine and scissor-style clippers. Keep a small kit of styptic powder, pet-safe wipes and a grooming mat. These imperatives let you perform weekly maintenance, reduce salon visits, and respond to minor emergencies at home.
Brushes and Combs
For short-haired cats, use a bristle or rubber brush weekly; for medium-to-long coats, use a slicker brush daily and a de-shedding tool 1-2 times weekly. Use a metal comb with fine (3-4 mm) teeth to detect tangles and a wide-tooth comb to remove loose hair. Regular brushing reduces hairballs and shedding, and addressing tangles early prevents painful, skin-hugging mats.
Nail Clippers and Grooming Scissors
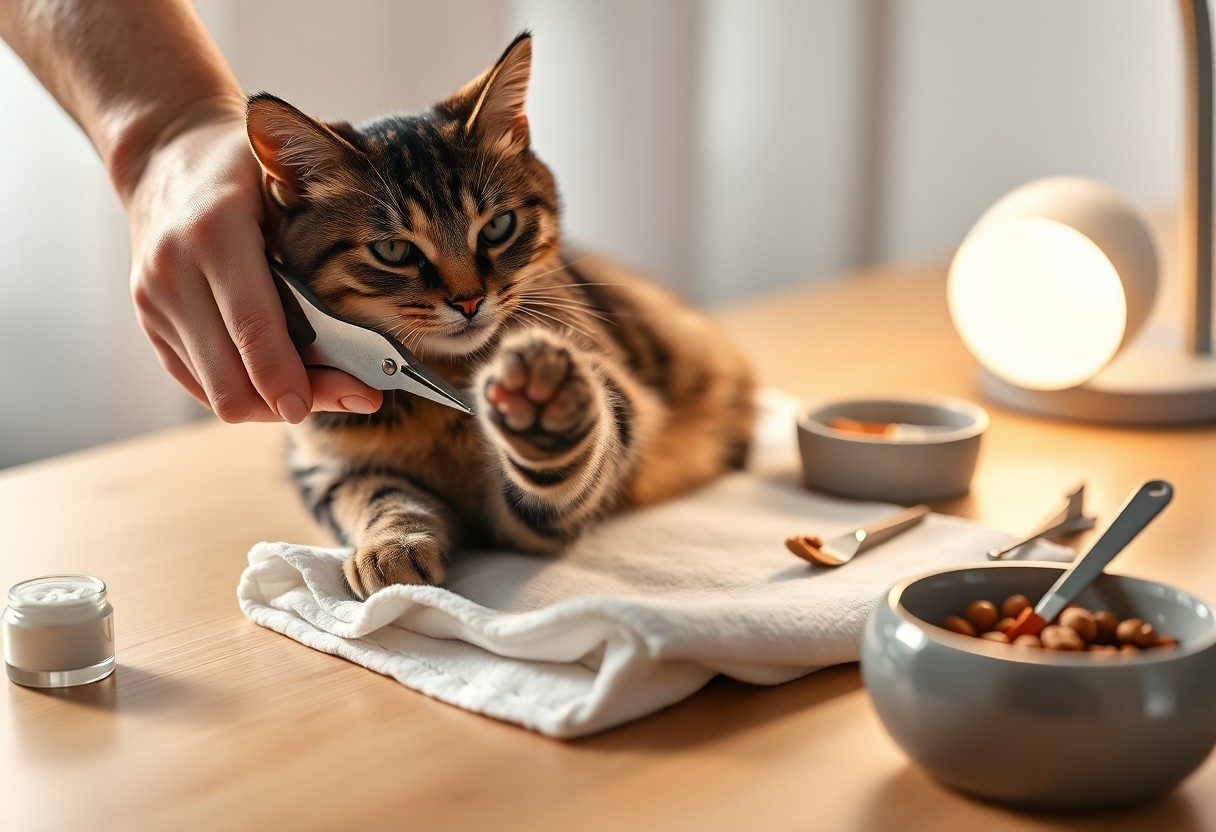
Choose between guillotine clippers for small, quick cuts and scissor-style clippers for thicker nails; pair them with rounded-tip grooming scissors for trimming fur around paws. Trim nails every 2-3 weeks to avoid overgrowth and snagging, and always keep styptic powder ready in case you nick the quick – that’s the primary hazard when trimming.
When you trim, extend each claw and cut only the translucent tip at a 45° angle, avoiding the pink quick; for dark nails, take small cuts over several sessions to find the quick safely. If bleeding occurs, apply styptic powder and gentle pressure for a minute. Use blunt-ended scissors for close fur trimming and never rush – improper technique can cause cuts or burns to your cat’s skin.
Bathing Your Cat
When you give a bath, aim for a calm, efficient session: fill the sink with about 2 inches (5 cm) of lukewarm water at ~38°C (100°F), plan for a total time of 10-15 minutes including prep, and use a pH-balanced cat shampoo. Short-haired cats usually need baths every 8-12 months, long-haired every 4-6 months. Avoid forcing your cat and never use human shampoo.
You should brush thoroughly to remove loose fur and mats, clip nails to limit scratches, place a non-slip mat in the tub, have towels and treats ready, and use cotton in the ears to prevent water entry. Test water on your wrist and keep distractions minimal; a second person helps. These steps reduce stress and speed the process, making the bath safer and quicker.
Step-by-Step Bathing Guide
Start by wetting the body (avoid face), apply a small amount of diluted shampoo (about 1:10 shampoo-to-water), lather for 2-3 minutes, rinse thoroughly for 2-5 minutes, then gently towel-dry and use a low-heat dryer only if your cat tolerates it. Protect eyes and ears with a damp cloth, and stop if your cat panics-try again later. Keep treats handy to reinforce calm behavior.
Use cat-specific shampoo, dilute 1:10, lather 2-3 min
5. Rinse
Rinse 2-5 min until water runs clear
6. Dry
Towel first, then low-heat dryer if tolerated
7. Reward
Offer treats and quiet time to reinforce positive association
If your cat resists, split the process into short sessions: do brushing and nail trims on day one, a wet-down and rinse on day two, and full shampoo on day three. Use a helper to hold and soothe, consider a pheromone spray, and keep the full session under 15 minutes. For sensitive skin, switch to a medicated or hypoallergenic shampoo and consult your vet if irritation appears.
Troubleshooting & Aftercare
Problem: Excessive struggle
Wrap in a towel “burrito” for control, recruit a helper, use short bursts; stop if bleeding occurs
Problem: Mats
Cut or detangle before bathing; wetting mats makes them tighter
Problem: Skin irritation
Rinse thoroughly, switch to vet-recommended shampoo, consult your vet within 48 hours if redness or hair loss appears
Problem: Water in ears
Use cotton gently in outer ear and tilt head away when rinsing; see vet if shaking persists
Aftercare
Dry completely, keep indoors for 24 hours, check skin and coat, and give a calming treat reward
Brushing Techniques
You should brush in the direction of hair growth using short, gentle strokes; aim for 5-10 minutes daily for long-haired breeds and 2-3 times weekly for shorthairs, using a slicker brush for mats, a undercoat rake during heavy shedding, and a rubber brush to lift loose fur-stop immediately if you see skin irritation or bleeding. Any technique adjusted to your cat’s tolerance prevents stress and improves coat health.
Dealing with Mats and Tangles
You can work on small tangles with a detangling spray and a wide-tooth comb, holding the base of the hair to avoid pulling the skin, while stubborn mats respond to a mat splitter or careful cutting only if you’re skilled; always check for skin folds or hidden wounds under mats and seek a professional for dense mats to avoid cuts or infection. Any aggressive tugging increases the risk of injury.
Best Practices for Different Coat Types
For short coats use a daily rubber brush or grooming glove to remove loose hairs, for long or double coats schedule daily brushing plus a weekly undercoat rake during seasonal sheds, for curly or dense coats use a wide-tooth comb and avoid over-brushing, and for hairless cats wipe skin weekly with a damp cloth and sunscreen on rare outdoor exposure-choose tools matched to coat density and your cat’s tolerance to prevent matting and skin damage. Any consistent routine reduces shedding and skin problems.
When tailoring your approach, you should assess coat density and skin condition: measure shedding by the hairball volume and weekly fur collected, note that Persians often need 10-15 minutes daily while Bengals do fine with 5 minutes a few times weekly, and monitor for allergic reactions to sprays; consult a groomer if mats exceed 2 cm or if your cat shows persistent discomfort. Any adjustments based on breed and seasonal change improve outcomes.
Undercoat rake
Slicker brush
Detangler
Any grooming schedule
Persian/long coat
Daily slicker + weekly bath
Bengal/short coat
Glove or rubber brush 2-3× weekly
Husky-type double coat
Undercoat rake during molt, 2-4× weekly
Curly breeds
Comb gently to prevent breakage, 1-2× weekly
Exotic/hairless
Wipe skin weekly, protect from sun
Nail Trimming Made Easy
When trimming, you should aim for a routine: check and clip every 2-3 weeks, removing only 1-2 mm of clear nail past the quick on light-colored nails and taking tiny 1 mm slices on dark nails. Use sharp cat clippers, keep styptic powder nearby for accidental bleeding, and reward with treats to reinforce calm behavior. Any time you nick the quick, apply pressure and styptic powder promptly.
Getting Your Cat Comfortable
You can habituate your cat by handling paws daily for 2-3 minutes, pairing touch with soft treats and a calm voice; for nervous cats try desensitization across 5 short sessions over a week. Use a towel “burrito” for temporary restraint and practice touching the nail beds without clipping first. Any session beyond 10 minutes increases stress and reduces cooperation.
desensitization
towel wrap
short sessions
treats
Tips for Safe and Effective Trimming
Use a steady 45-degree angle and snip only the transparent tip-for light nails cut 1-2 mm beyond the quick, for dark nails trim tiny 1 mm slices and watch for the dull dot that signals the quick. Hold paws firmly but gently, use a flashlight for visibility, and keep sessions under 5 minutes; have styptic powder accessible for bleeding. Any refusal means stop and try again after 24 hours.
45-degree angle
transparent tip
flashlight
styptic powder
When nails are dark, trim millimeter by millimeter: clip a tiny sliver and inspect for a pale oval; stop before seeing the pink. If you hit the quick, press gauze for 30-60 seconds and dab styptic powder or cornstarch to stop bleeding; if your cat struggles, try trimming after a nap or have a second person soothe them. Any persistent bleeding or signs of infection warrant immediate veterinary care.
dark nails
incremental cuts
pressure 30-60s
vet care
Maintaining a Regular Grooming Schedule
Setting Routines
You should schedule brushing and basic checks into existing daily moments-after play or before bedtime-to build consistency. For example, long-haired breeds like Maine Coons need brushing daily or every other day, while short-haired cats often do fine once a week. Pair sessions with treats, keep them 5-10 minutes at first, and increase as your cat tolerates to avoid resistance.
Signs That Your Cat Needs Grooming
Watch for visible mats, clumps of fur, persistent dandruff, strong odor, or excessive shedding; these often indicate overdue grooming. If you notice mats pulling at the skin, red or scabby areas, or fleas and ticks, act quickly-mats can hide wounds and lead to skin infections. Also note changes in grooming behavior: senior or obese cats may stop grooming themselves.
When you inspect, part the fur to check the skin every 1-2 weeks for young, healthy cats and every few days for long-haired or elderly cats. Use a wide-tooth comb to find tangles; if mats exceed ~1 inch or pain is evident, consult a groomer or vet-attempting to cut mats yourself risks nicks and infection. Trim nails every 2-4 weeks and clean ears monthly to prevent complications.
Summing up
From above you can apply professional grooming techniques at home to keep your cat healthy and reduce costs; establish a calm routine, use quality tools, learn safe bathing, nail trimming, and coat care, and monitor skin and behavior to catch issues early; when in doubt consult your vet or a professional groomer for guidance to avoid costly mistakes and protect your cat’s wellbeing.
FAQ
Q: What basic tools and supplies should I buy for DIY cat grooming to save money?
A: Invest in a few durable, multi-purpose tools: a slicker brush for removing loose fur, a wide-tooth comb for detangling, a fine-tooth comb for finishing, a deshedding tool for heavy shedders, quality nail clippers, blunt-ended scissors or thinning shears for small trims, and styptic powder for bleeding nails. Add cat-safe shampoo, ear-cleaning solution, a non-slip bath mat, absorbent towels, and treats to reinforce positive behavior. Buying mid-range, well-reviewed items and maintaining them (cleaning blades, replacing worn parts) costs less long-term than repeatedly buying cheap replacements or frequent professional grooming.
Q: How do I bathe and dry a cat safely at home without stressing them?
A: Brush thoroughly before bathing to remove loose hair and tangles. Use lukewarm water in a sink or tub, wet the body from the neck down, and apply a small amount of cat-specific shampoo, avoiding eyes and inside ears. Rinse completely to prevent skin irritation. Wrap the cat in a towel to absorb moisture, then use a second towel or a low-heat, low-noise blow dryer if the cat tolerates it; keep the dryer at a safe distance and move it constantly. Keep sessions short, speak calmly, offer treats, and take breaks if the cat becomes anxious. If your cat is extremely stressed or has medical conditions, seek professional help.
Q: How should I handle mats, trim nails, and know when to see a professional?
A: For small, loose mats use a dematting tool or comb to work them out from the ends toward the skin, holding the base to avoid pulling. Tight, close-to-skin mats should be clipped out carefully with blunt-ended scissors or a clipper-if you’re uncomfortable, let a groomer or vet handle them to avoid cuts or skin tears. Trim nails by gently pressing the paw to extend the nail and cutting only the clear tip, avoiding the quick; have styptic powder on hand for bleeding. Seek a professional if mats are extensive, skin is irritated, your cat is in pain or too stressed for safe handling, or if there are medical or behavioral concerns. Regular brushing and spot trims reduce the need for costly full grooming appointments.


")


")