Treats are an necessary part of your cat’s diet, and with this guide, you will learn how to create nutritious and delicious homemade options. By making treats yourself, you can avoid harmful ingredients commonly found in commercial products. You’ll discover easy recipes that cater to your cat’s preferences while ensuring they receive beneficial nutrients. Whether your feline friend is picky or a foodie, this guide will empower you to enhance their snacking experience, keeping them happy and healthy.
Key Takeaways:
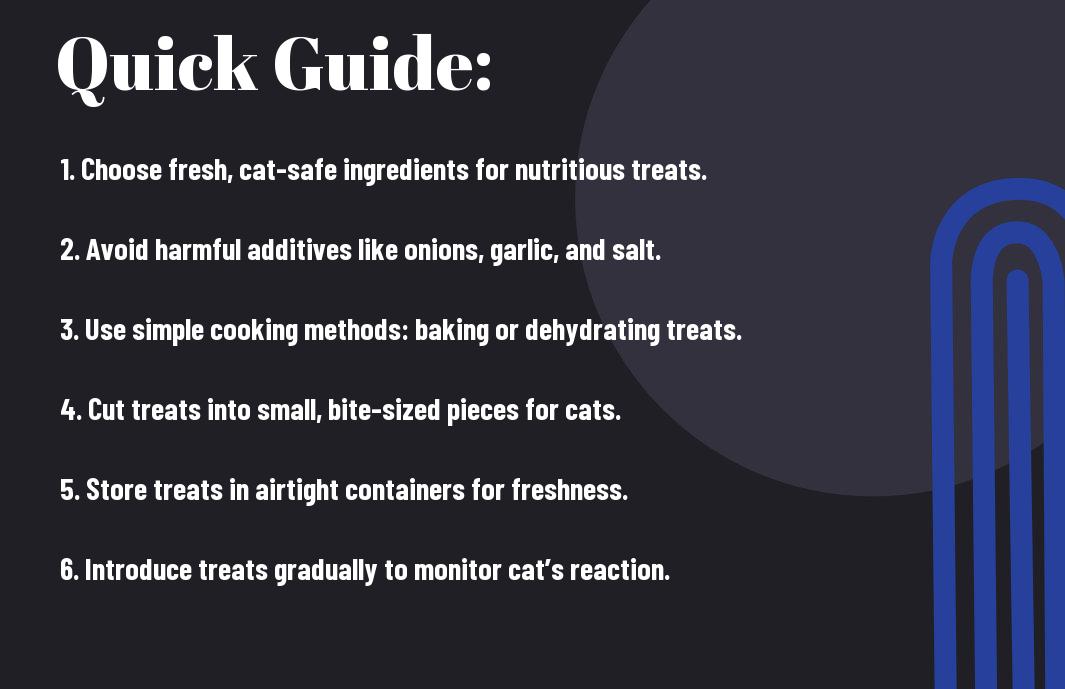
- Utilize natural ingredients: Focus on wholesome ingredients such as lean meats, fish, and vegetables that provide nutritional benefits for your cat.
- Experiment with flavors and textures: Cats can be picky eaters, so try various combinations to discover what your feline friend enjoys the most.
- Store treats properly: Keep homemade treats in airtight containers to maintain freshness and prevent spoilage, considering refrigeration for longer shelf life.
Types of Healthy Homemade Cat Treats
To create a balanced snack for your feline friend, you can explore various types of healthy homemade cat treats. Here’s a quick rundown of delicious options:
| Meat-Based Treats | High protein, satisfying for your cat. |
| Vegetable Treats | Adds fiber and nutrients. |
| Grain-Based Treats | Fillers that can be beneficial. |
| Dairy Treats | Can be a tasty indulgence. |
| Fish Treats | High in omega fatty acids. |
The options for cat treats are diverse, ensuring that you can cater to your cat’s preferences.
Meat-Based Treats
Even your cat’s instincts towards meat can be satisfied with nutritious meat-based treats. Options like chicken, turkey, or fish can provide necessary protein while being easy to prepare. Incorporating these lean meats into your homemade treat recipes will result in treats that are not only tasty but also promote good health.
Vegetable and Grain-Based Treats
Meat-based treats are great, but you shouldn’t overlook the benefits of incorporating vegetables and grains into your cat’s diet. Adding ingredients like pumpkin, peas, or oats can offer important nutrients while providing digestion support.
With vegetables and grains, you can create wholesome treats that enhance your cat’s overall health. Ensure all ingredients are safe for cats, avoiding any that are toxic like onions or garlic. These treats can also introduce valuable fiber, assisting with digestive health while allowing you to control the ingredients, ensuring your cat gets the best without unnecessary additives.

Tips for Making Healthy Cat Treats
Assuming you want to create nutritious treats for your feline friend, keep these tips in mind:
- Choose fresh, quality ingredients
- Limit added sugars and salt
- Opt for whole grains and lean proteins
- Use natural flavors like chicken broth or fish oil
- Experiment with different textures for variety
Knowing these simple tips can lead to healthier and tastier options for your cat.
Nutritional Considerations
An necessary aspect of making homemade cat treats is understanding your cat’s nutritional needs. Ensure the ingredients you select are high in protein and include necessary vitamins and minerals. Incorporating ingredients like chicken, fish, and pumpkin can provide beneficial nutrients while keeping the treats appealing to your pet.
Flavor Enhancements
Even the healthiest treats may need an extra touch to entice your cat. You can enhance the flavor of your homemade treats by incorporating ingredients such as catnip, dried fish, or cheese. These additions can make the treats irresistible to your furry companion.
This is where you can truly customize your cat treats. Adding catnip not only enhances flavor but can also make treats more exciting for your cat. Additionally, using dried fish can provide both protein and a savory taste while helping cats associate homemade treats with their favorite flavors. Always ensure that you use safe ingredients, as some human foods can be harmful to your pet. With these enhancements, your homemade cat treats can be a delightful and healthy experience for your cat.
Step-by-Step Guide to Making Cat Treats
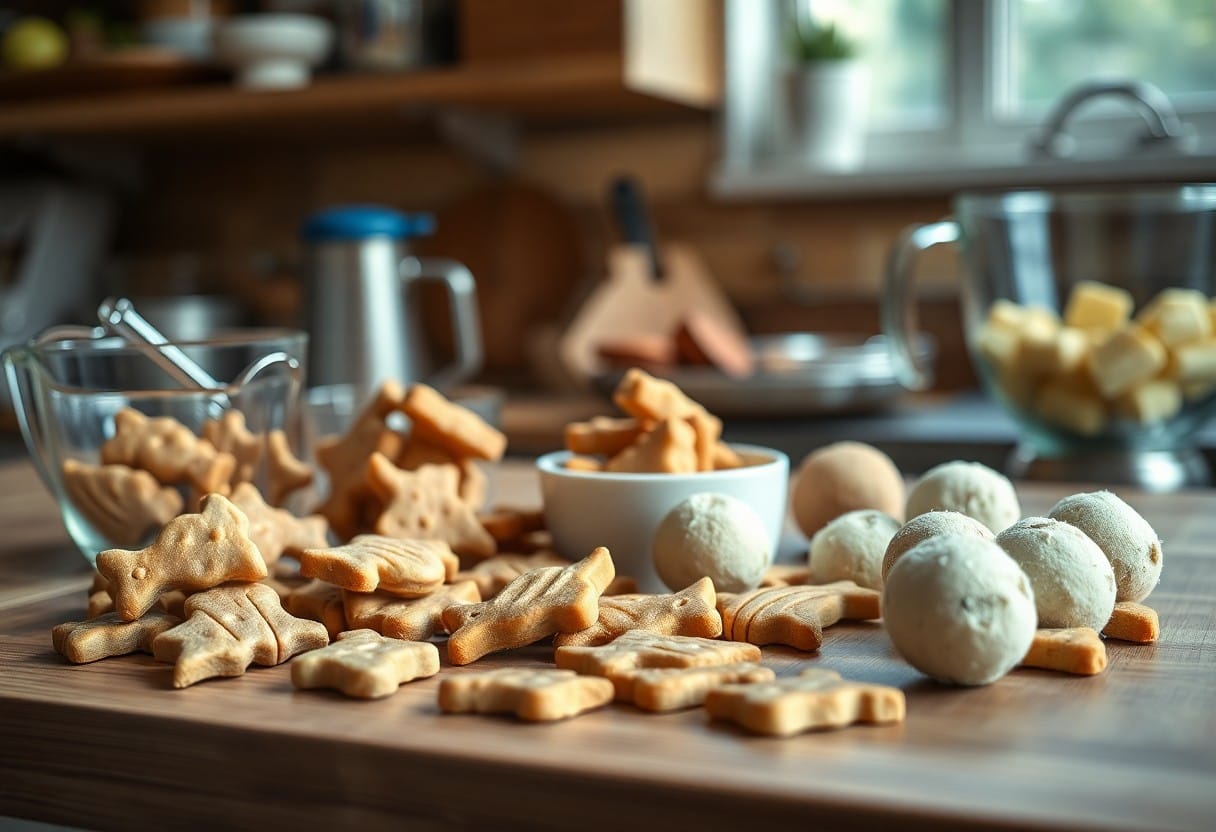
Once again, creating delightful homemade cat treats is a rewarding process. Follow this simple guide to ensure your feline friend enjoys every bite. Below is a table that outlines the crucial steps in making cat treats, highlighting the ingredients and the actions you’ll take.
| Ingredients | Actions |
|---|---|
| Protein source (chicken, tuna) | Preheat oven or prepare no-bake setting |
| Whole grain flour or catnip | Mix ingredient with protein source |
| Egg (optional) | Form dough into desired shapes |
| Broth or water | Bake or refrigerate as per recipe |
| Optional toppings | Let cool before serving |
Basic Recipe Format
Recipe ingredients usually include a protein base, like chicken or tuna, mixed with a secondary ingredient such as whole wheat flour. You’ll also often add liquid to bring everything together, creating a dough that’s easy to handle. Optional ingredients can enhance flavor or enrich nutrition, providing variety to your cat’s diet while ensuring the treats remain healthy.
Baking vs. No-Bake Treats
Format refers to whether you choose to bake your treats or make them without baking. Baking tends to enhance flavors and create a crunchy texture, while no-bake treats are quicker to prepare and often retain more moisture. Each format has its own benefits, allowing you to cater to your cat’s preferences.
Understanding the differences between baking and no-bake treats is important for your cat’s diet and enjoyment. Baking can promote better flavors and a crispier texture, making them appealing to your pet. However, no-bake treats can be a quicker alternative, especially if you’re short on time. Both methods can lead to delicious, nutritious options, so your choice may depend on the time available and your cat’s taste preferences.
Factors Influencing Cat Treat Quality
Keep in mind the following factors that can significantly impact the quality of your cat treats:
- Ingredient quality
- Cat preferences
- Nutritional value
- Preservation methods
The right balance of these elements will help you create healthy and appealing treats for your feline friend.
Ingredient Quality
An vital aspect of making healthy cat treats is using high-quality ingredients. Opt for fresh, organic, and natural components that are free from artificial additives and preservatives. This ensures not only better flavor but also enhances the nutritional value of the treats, promoting your cat’s overall health.
Cat Preferences
On top of nutritional aspects, you must consider your cat’s unique preferences when it comes to flavors and textures. Cats may show strong likes or dislikes for specific ingredients, and understanding these tendencies will help you create treats that satisfy their palates.
Quality matters greatly in regards to your cat’s tastes; the more you tailor treats to their preferences, the more likely they will enjoy them. For example, cats often prefer protein-based ingredients such as fish, chicken, or turkey over other options. Additionally, you should be cautious of ingredients that may trigger adverse reactions. Avoid toxic foods like onions and garlic, but embrace healthy options like pumpkin or spinach. This ensures that you are offering treats that are not only delicious but also safe and beneficial for your furry companion.
Pros and Cons of Homemade Cat Treats
Not all cat treats are created equal, and while homemade options offer numerous benefits, there are also some drawbacks to consider. Below, we break down the pros and cons of making your own cat treats.
| Advantages | Potential Drawbacks |
|---|---|
| Control over ingredients | Time-consuming to make |
| Customization for dietary needs | Short shelf life |
| Fresher and healthier | Requires kitchen skills |
| Cost-effective options | Potential for unbalanced nutrition |
| Bonding experience with your cat | Ingredient sourcing challenges |
Advantages of Making Your Own
Cons of homemade cat treats include the lack of convenience and the need for consistent preparation. However, the primary advantage is your ability to monitor every ingredient. This means you can create tailored treats that cater specifically to your feline’s health requirements, ensuring they receive only the best.
Potential Drawbacks
Homemade cat treats do come with some challenges. While it may be tempting to whip up a batch for your furry friend, you might find it time-consuming and labor-intensive. There’s also a risk of unbalanced nutrition if you inadvertently omit crucial nutrients, leading to health complications for your pet. Additionally, the lack of commercial preservatives may result in a shorter shelf life for your homemade treats.
Your dedication to providing healthy treats for your cat is admirable, but keep in mind the balance between preparation and quality. Ensuring your homemade snacks are nutritionally complete can require additional research on cat dietary needs. Check if the ingredients you use are safe and beneficial for your cat, and always consult your veterinarian when in doubt to avoid any potential health risks.
Storing and Preserving Homemade Treats
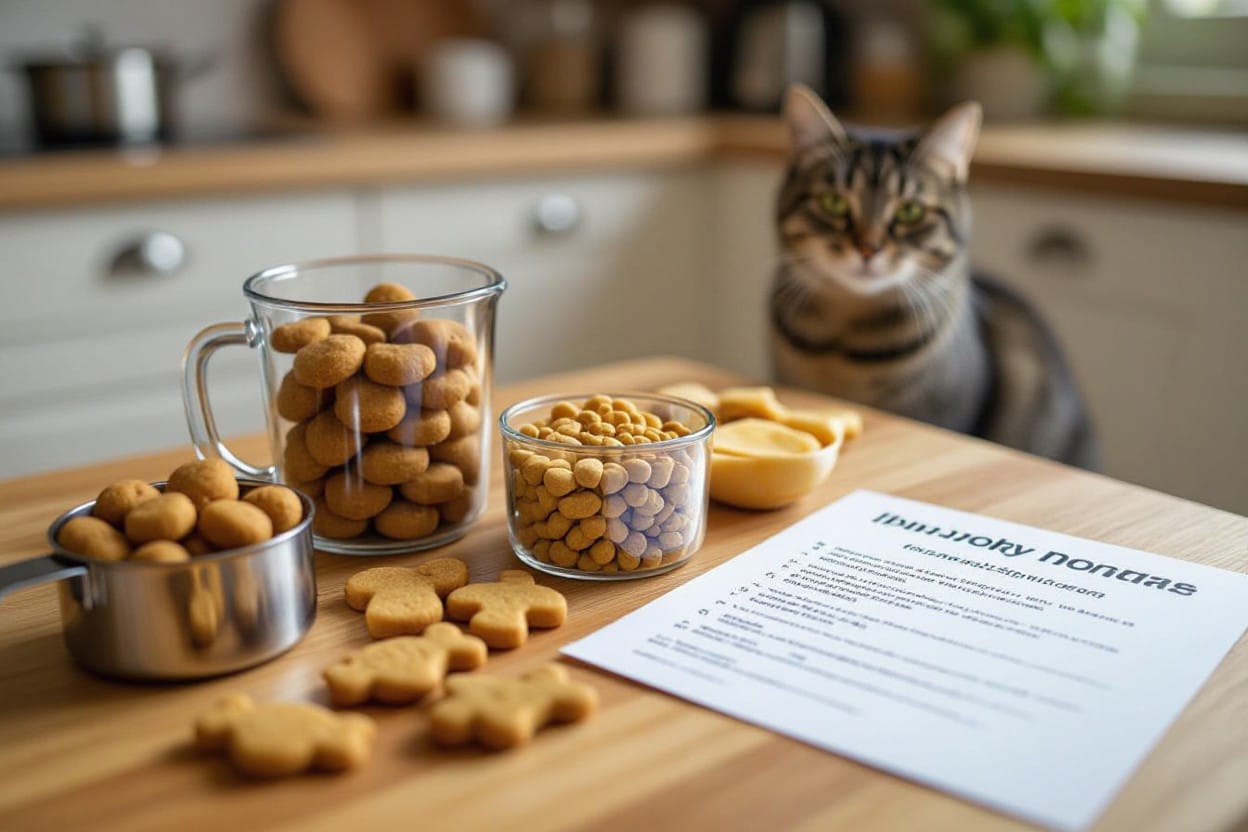
All homemade cat treats deserve proper storage to maintain their freshness and flavor. By following the right techniques, you can ensure your feline friend enjoys their treats for a longer period. Airtight containers are ideal for dry treats, while refrigerated storage works best for moist varieties. Always label your containers with dates to track freshness and avoid serving expired treats.
Shelf Life Guidelines
There’s a general rule for the shelf life of your homemade cat treats. Dry treats can stay fresh for up to two weeks when stored at room temperature. In contrast, moist treats may only last around three to five days in the fridge. Keeping an eye on these timeframes will help you offer your cat safe, enjoyable snacks.
Freezing Options
On the other hand, freezing is a fantastic option for extending the life of your homemade cat treats. This method allows you to prepare larger batches and save them for later use without sacrificing quality.
Another beneficial aspect of freezing is the convenience it provides; simply thaw a few treats at a time to ensure your cat enjoys fresh snacks regularly. You can freeze treats for up to three months without compromising their flavor or safety. When ready to serve, safely thaw them in your refrigerator or at room temperature, avoiding the microwave, which may cause hot spots that could harm your cat. By following these tips, you ensure that your pet enjoys delicious, safe, and healthy treats whenever you choose to spoil them.
Summing up
Following this ultimate guide to making healthy homemade cat treats, you can confidently create nutritious snacks that your feline friend will love. By using high-quality ingredients and easy-to-follow recipes, you’ll ensure that your cat enjoys tasty treats without compromising their health. Additionally, you’ll strengthen your bond with your pet through the fun and rewarding process of homemade cooking. So, gather your ingredients and start treating your cat to something special today!
FAQ
Q: What ingredients are safe to use when making homemade cat treats?
A: When creating homemade cat treats, it’s important to use ingredients that are safe for felines. Common safe ingredients include cooked chicken, fish, pumpkin puree, oats, and catnip. Avoid using ingredients such as onions, garlic, chocolate, and grapes as they can be toxic to cats. Always check for any allergies your cat may have and consult with your veterinarian if you’re uncertain about certain ingredients.
Q: How can I ensure that the treats I make are healthy for my cat?
A: To ensure the treats are healthy, use whole, natural ingredients and avoid processed foods that contain additives or preservatives. Focus on lean proteins, healthy fats, and limited carbohydrates, as a cat’s diet should primarily consist of protein. Additionally, consider consulting a pet nutritionist for guidance on balance and proportions to meet your cat’s dietary needs.
Q: How should I store homemade cat treats to keep them fresh?
A: Homemade cat treats should be stored in an airtight container at room temperature if they are to be consumed within a week. For longer storage, consider refrigerating them for up to two weeks or freezing for up to three months. If you choose to freeze the treats, make sure to separate them into portion sizes so you can easily thaw them as needed without exposing the entire batch to air and moisture.


