Many cat owners delight in making homemade treats for their furry friends, but ensuring these goodies stay fresh and safe for your feline companion is key. Proper storage techniques can extend the shelf life of your creations while preserving their flavor and texture. In this guide, you will learn how to effectively store and preserve your homemade cat treats so that they remain tasty and healthy for your cat. With the right methods in place, you can continue to spoil your pet with delicious snacks without any worry.
Store homemade cat treats in an airtight container to maintain freshness and prevent moisture from affecting their texture.
Keep the treats in a cool, dry place, or consider refrigerating them if they contain fresh ingredients to extend their shelf life.
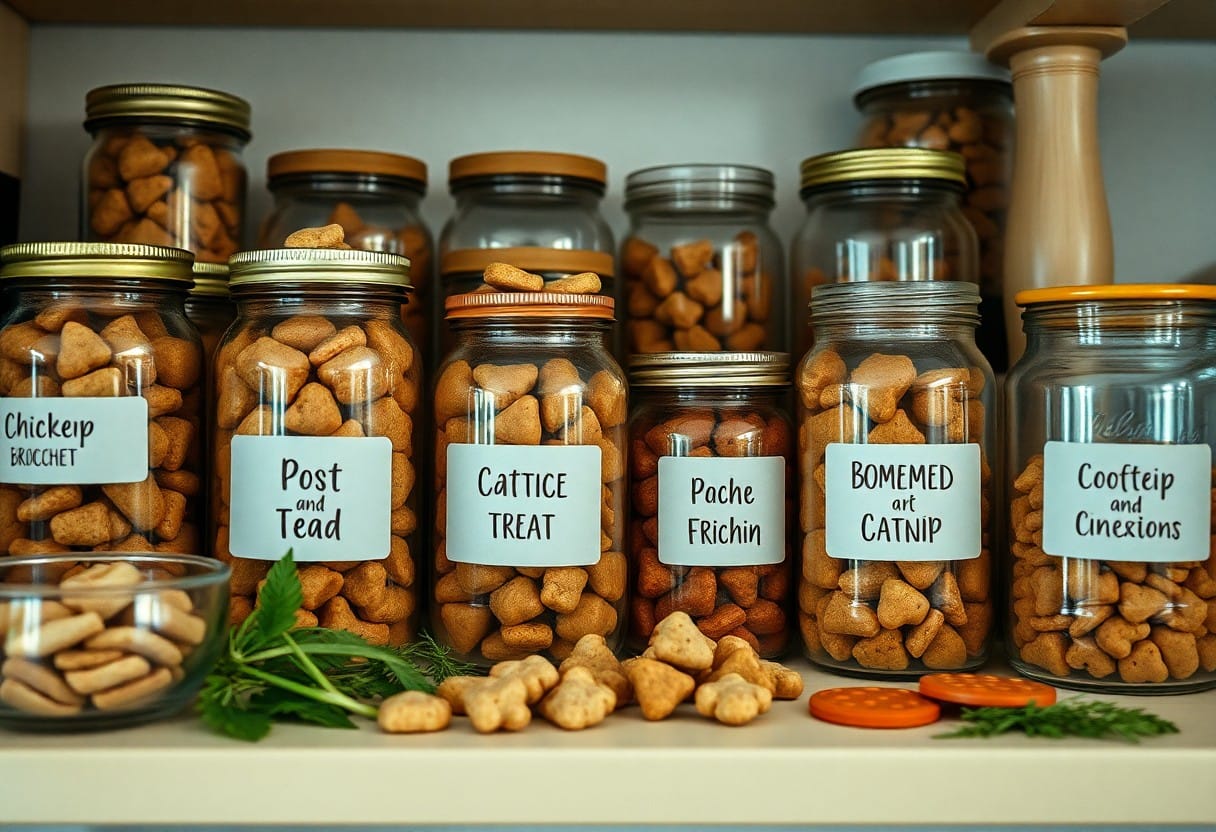
Label containers with the date of preparation and type of treats to keep track of their age and ensure your cat is enjoying the freshest options.
Understanding Factors That Affect Shelf Life
The shelf life of your homemade cat treats is influenced by several factors, including:
Ingredients
Moisture content
Storage temperature
Packaging
Knowing these factors will help you make informed decisions on how to best store your treats to maintain freshness and flavor.
Ingredients and Their Role
With a focus on ingredient quality, the components you choose can significantly impact the shelf life of your treats. Natural ingredients tend to have shorter shelf lives than preservatives. Always consider how each ingredient contributes to the overall duration your treats can safely be stored.
Storage Conditions
Little attention to the right storage conditions can lead to spoilage, affecting your treats’ taste and safety. Ensuring a cool, dry environment will help prolong their freshness.
For instance, storing your homemade cat treats in a sealed container at room temperature can help maintain their quality. Avoid exposing them to high humidity or direct sunlight, as this can accelerate moisture absorption and lead to mold growth. Using the refrigerator can help extend shelf life, but always ensure that the treats are sealed properly to avoid cross-contamination and moisture. Lastly, check your treats regularly for signs of spoilage like off smells, changes in texture, or mold to keep your feline friend safe.
Clearly, proper storage is necessary for keeping your homemade cat treats fresh for your feline friend. You want to ensure that they maintain their flavor and texture while also preventing contamination. Always consider the best methods to seal and store your treats so that you can provide the best for your pet.
Choosing the Right Containers
Containers play a significant role in the preservation of your homemade cat treats. Opt for airtight containers, such as glass jars or BPA-free plastic containers, to keep moisture and odors at bay. Always label your containers with the date of preparation to easily track freshness and maintain a suitable rotation of your stock.
Refrigeration vs. Freezing
Even though refrigeration can extend the life of your treats, using the freezer is often the best option for long-term storage. It prevents spoilage more effectively and allows you to prepare larger batches without worrying about waste.
A key consideration is how long you plan to keep your treats. Treats stored in the refrigerator typically last about one week, while those in the freezer can last up to three months. The process of freezing your treats helps hold their taste and texture, making them more appealing for your cat when thawed. However, ensure you allow them to thaw completely before serving to avoid any risk of cold Paw injuries. Choose the method that best suits your needs and your kitty’s treat enjoyment!
Tips for Preserving Freshness
To keep your homemade cat treats in their best condition, consider the following tips for preserving their freshness:
Store treats in an airtight container.
Keep them in a cool, dark place.
Use freezer-safe bags for long-term storage.
Divide portions to minimize exposure to air.
Thou will find that these simple steps will help maintain the delightful taste and texture of your treats.
Use of Preservatives
For those looking to extend the shelf life of their homemade cat treats beyond the conventional methods, adding preservatives can be an effective solution. Natural options like vitamin E or rosemary extract not only help reduce spoilage but also ensure your treats remain safe for your cat. Always research any new ingredient and consult with your vet if you’re unsure about its safety.
Vacuum Sealing Techniques
Techniques for vacuum sealing can significantly enhance your treat storage strategy, keeping flavors intact and minimizing spoilage. By removing air from bags, you lower the chance of bacterial growth and moisture accumulation. Make sure to use designated vacuum seal bags that are free of any chemicals. This method also allows you to portion your treats easily and keep them ready for your feline friend.
Freshness is paramount when storing your homemade cat treats. Vacuum sealing not only preserves the taste and aroma but also protects against the chance of mold or insect contamination. Prioritize using a high-quality vacuum sealer and check that your bags are sealed properly. By doing so, you’ll provide your furry companion with fresh and safe delicacies for an extended period.
Once again, it’s important to recognize the signs of spoilage in your homemade cat treats to ensure your feline friend stays healthy. Over time, treats can develop issues that may pose health risks. Always be vigilant and inspect your cat’s snacks for any alarming changes before offering them to your pet.
Visual Indicators
Now, when examining your cat treats, look for any discoloration, mold, or wet spots, which are strong indicators of spoilage. Fresh treats should maintain their original colors and textures, while any signs of change may suggest they are no longer safe for consumption.
Smell and Texture Changes
Signs of spoilage can also manifest through smell and texture changes in your treats. If you notice an off odor or a texture that feels sticky or slimy, it’s best to err on the side of caution and discard the treats. Such changes often indicate bacterial growth or rancidity, which can be harmful to your cat’s health.
To ensure the well-being of your cat, always inspect their treats for any unwanted smells or texture anomalies. If the treats smell sour or otherwise unpleasant, or if they have developed a gritty or mushy consistency, these are key indicators of spoilage. Trust your senses—if something seems off, it’s wise to throw them away. Keeping your cat’s treats fresh is vital for their overall health and happiness.
How to Extend the Shelf Life
Despite your best efforts in baking delicious homemade cat treats, their shelf life can be surprisingly short. To ensure your treats stay fresh and safe for your feline friend, incorporate proper storage methods and temperature controls. By doing so, you can minimize spoilage and maximize the longevity of your creation, allowing your cat to enjoy them for weeks instead of days.
Batch Preparation Strategies
On one hand, preparing larger batches of cat treats can be beneficial for your time management, but, on the other hand, it’s imperative to consider how you’ll store them. Divide your treats into smaller portions, storing only what you need for immediate use while keeping the rest in a sealed container in the freezer. This method effectively maintains their freshness.
Proper Cooling Techniques
Now, it’s important to let your cat treats cool properly before storing them. This helps prevent condensation, which can lead to mold or spoilage. Allow the treats to rest on a cooling rack for at least an hour before packaging them. This step ensures that your treats remain safe and delicious for your furry companion.
Another step to ensure your treats last longer is using proper cooling techniques. After baking, place the treats on a wire cooling rack to allow for even heat distribution. This prevents moisture buildup that can contribute to mold growth. Allow them to cool completely before placing them in airtight containers or bags. This careful cooling process enhances food safety and maintains the quality of your treats, ensuring your cat enjoys them for an extended period.
Your homemade cat treats don’t have to go to waste! Get creative and find new uses for leftover treats by adding them into your cat’s routine. Consider using them as a topping for their regular meals or for interactive play sessions, allowing your cat to engage more with their environment while enjoying the flavors they love.
Incorporating into Meals
With a sprinkle of leftover treats, you can enhance your cat’s regular meals. Crumble the treats and mix them into their food for a tasty boost that will also encourage picky eaters to enjoy their meals more. This simple addition can provide variety in their diet while maintaining their enthusiasm for mealtime!
Treats for Training
Incorporating leftover treats into training sessions can make learning fun for your cat. Use them as rewards for positive behavior, encouraging your furry friend to follow commands or learn new tricks. Reinforcing good behavior with familiar flavors creates a positive association with training.
Plus, using homemade treats for training not only saves you money but also ensures that your cat enjoys treats made from safe, healthy ingredients. Make sure the treats are small enough for quick consumption, so you can keep the training session moving. Just be cautious with the quantity, as overfeeding can lead to digestive issues or weight gain. Always monitor your cat’s intake and adjust their main meals accordingly to maintain a balanced diet!
To Wrap Up
The key to keeping your homemade cat treats fresh and tasty lies in proper storage techniques. You should store them in airtight containers to prevent moisture and air from diminishing their quality. Depending on the ingredients, you can also freeze some treats for longer preservation. Always label your containers with dates to track freshness, ensuring your feline friend enjoys safe and flavorful snacks. By following these guidelines, you can extend the life of your treats and keep your cat happy and healthy.
FAQ
Q: How should I store my homemade cat treats to keep them fresh?
A: To keep your homemade cat treats fresh, it’s best to store them in an airtight container. You can use glass jars, plastic containers, or resealable bags. Make sure the treats have cooled completely before sealing to prevent moisture accumulation. For longer shelf life, you can refrigerate or freeze the treats. If you choose to freeze them, place the treats in a single layer on a baking sheet until firm, then transfer them to an airtight bag or container to prevent sticking.
Q: How long can I store homemade cat treats before they go bad?
A: The storage duration for homemade cat treats depends on the ingredients used. Generally, treats without preservatives can last about 1-2 weeks at room temperature, up to 3 weeks in the refrigerator, and about 2-3 months when frozen. Always check for signs of spoilage, such as off smells, mold, or changes in texture before offering them to your cat. Keeping track of the date when you made the treats can help manage their freshness.
Q: Can I store different types of cat treats together?
A: It’s advisable to store different types of cat treats separately to preserve their original flavors and textures. Ingredients can interact and may affect the taste or quality of the other treats over time. Using individual airtight containers helps in maintaining the uniqueness of each treat type and prevents any cross-contamination, especially if one type has a stronger scent or ingredient profile than the others.


")


")